First post! I am currently visiting my parents in Seattle and while I'm here I've been taking advantage of their tool shed, and kitchen. Needless to say I have a lot of projects in the works! My discovery of a tattered copy of the hippy book,
"Uprisings: The Whole grain bakers' book", Inspired me to try my hand at baking with sprouted grains, but while I impatiently stare at my jar of soaking wheat waiting for it to become sprouts, I figure I'd do some regular ol' baking to tide me over.
I've tried my hand at rye bread in the past with mixed results, but perusing the recipes in "uprisings" has given me a few new ideas. So I set out to make a braided rye loaf! I started off by making two sets of poolish (also called a bread starter or sponge) one with rye flour and a few teaspoons of molasses, and the other with plain white all-purpose flour.
Once the poolish had bubbled and risen a bit in the bowl, I mixed the
dough. The white side got white all-purpose flour, salt, and a few
tablespoons of wheat gluten. The rye side got the gluten, salt,
and rye flour with a little white flour thrown in just for shits and
giggles.
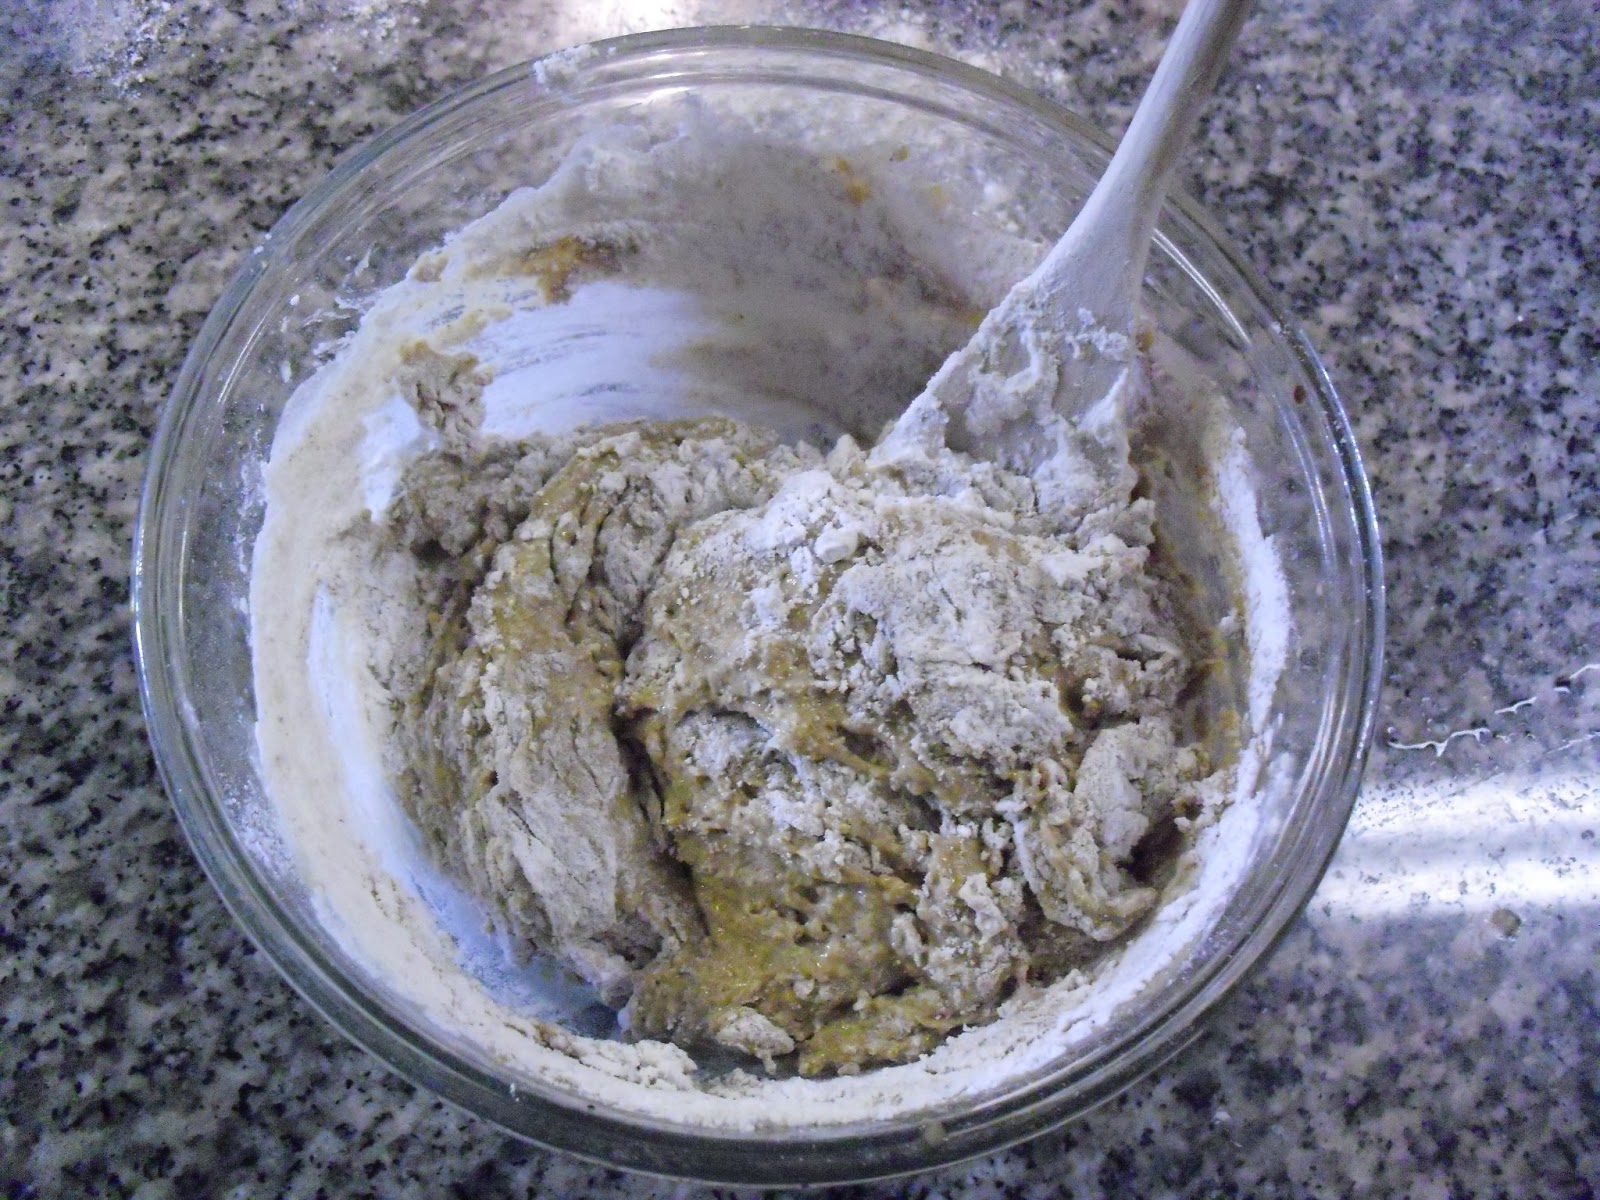 |
| The rye dough before kneading |
Adding wheat gluten to all-purpose flour, or flours like rye that are
lower in gluten, helps add elasticity to the dough so that it has a
fluffier consistency after baking. It is available in the bulk section
of many stores, as well as online. Bob's Red Mill also sells it in
packaged form, but it's usually cheaper to buy in bulk.
 |
| Dough kneaded and plopped in bowl |
Once I had my dough kneaded and plopped in an oiled bowl, I set my dough in a warm place to rise...and waited. When it had risen to double it's original size, I punched it down, put an episode of The Walking Dead on the TV, and waited some more!
Once the second rise was achieved it was time to separate each ball of
dough into three pieces, and then gently squish them into snakes. I
realized at this point- as I always do- that I made too much dough...so I
made two loaves!
 |
| Braiding! |
Alternating the rye and white dough snakes, I braided them together, tucked the edges in slightly, then set them into the loaf pans. I tend to make braided loafs even when using just one type pf dough. I like the texture and appearance it creates. The trick to braiding is to be gentle. Instead of pulling on the dough, like you would if braiding hair or yarn, you sort of plop the strands on top of each other so not to stretch the dough.
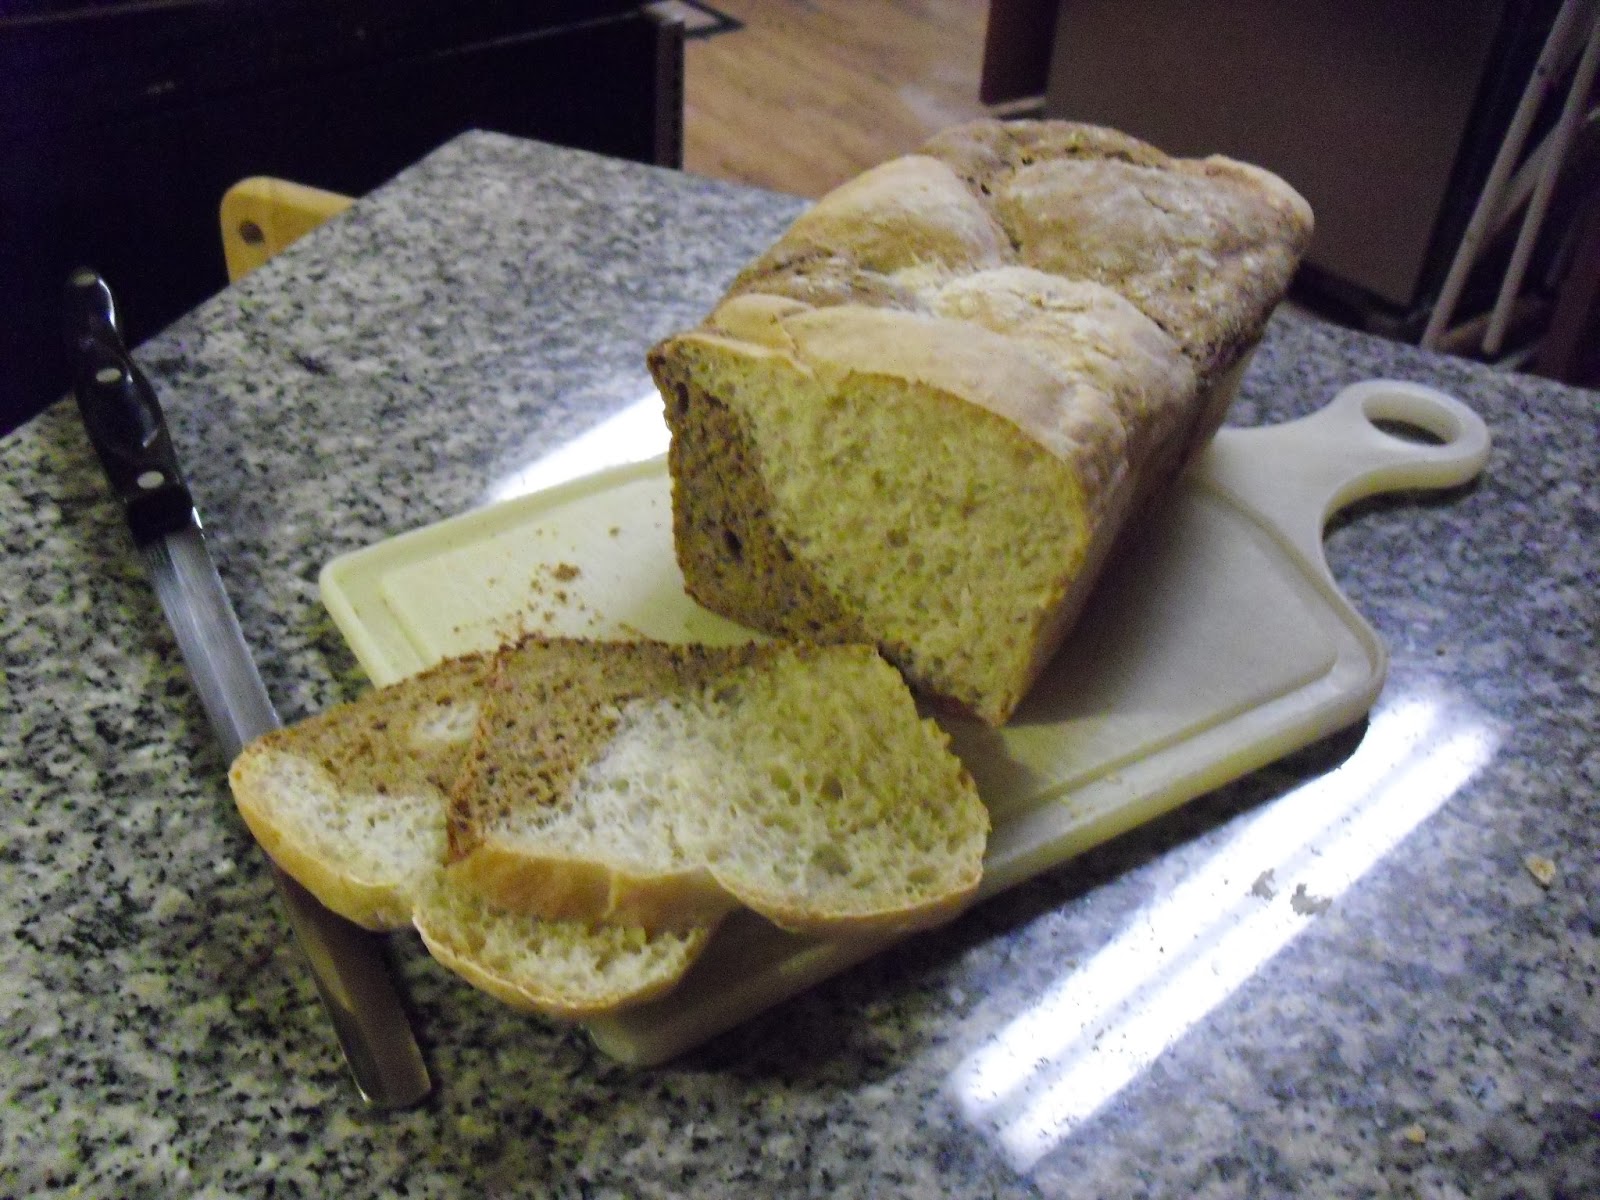
Now for the final rise in the pan....Then into a 400 degree oven until the loaves sound hollow when
flicked. This time it took about 35 min. I didn't get quite the rise in
the oven I was hoping for (due to the molasses?) but it has a very nice
crust!
 |
| Done! |